One option when returning to the carpark on Waiorongomai Rd from the upper end of the Piako County Tramway is the High Level Pack Track to the head of Butlers Incline, then the Cadman (or Buck Rock or Ruby’s) Track down to rejoin the High Level Pack Track, and the Low Level Drive. From Cadman Track there is a short but steep and rough climb to the pinnacle of Buck Rock. The total distance is about 7 km.
The High Level Pack Track from near the end of the tramway to the head of Butlers Incline starts out as a fairly rough track. Presumably it’s not in the original location and condition, as it would not be suitable as a track for pack horses. However it soon changes to a well-formed and easy track with a gentle slope. It passes by the remains of Hardy’s Hut, and the location of Quartzville miners camp.
The High Level Pack Track crosses the tramway near the head of Butlers Incline. Instead of continuing down the High Level Pack Track we follow the Cadman Track, also known as Buck Rock Track and Ruby’s Track. A short but steep and rough side track leads to the top of Buck Rock, a prominent rock protruding from the side of Mt Te Aroha. On a clear day there are extensive and impressive views from the top of Buck Rock. The gold-bearing reef in the area is known as Buck Reef.
The GPS shows the top of Buck Rock to be about 525m above sea level, and the Cadman Track about 380m asl where the side track to Buck Rock starts. So the climb is about 145m, with a horizontal distance of about 300m from Cadman Track to the top.
Cadman Track is a well-formed track with a mostly gentle slope, running parallel to the High Level Pack Track.
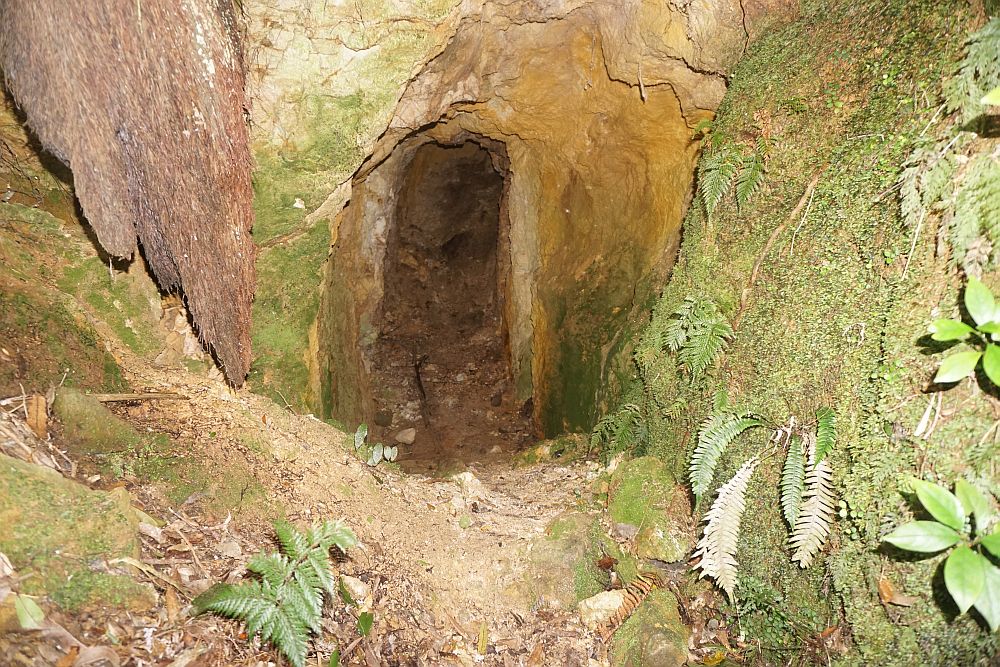
The Low Level Drive is the remains of an attempt to construct a tunnel into the side of Mt Te Aroha, complete with a tramway to extract gold ore. The tunnel was never completed, and can be considered an early lesson in how development projects can fail. The following is taken from the information panel beside the tunnel entrance.
“Another gamble that turned to failure.
In 1895, the New Zealand Exploration Company had acquired mining rights to 975 hectares of Waiorongomai goldfield land, including most of the profitable small claims.
In 1896 this company, trading as Te Aroha Gold Mines Ltd, started digging the Low Level Drive (tunnel), parallel with the main reef. This was to provide direct access to the ore from below Buck Reef. Previously vertical shafts were dug from above. A workable drive would mean less double handling, and expensive tramway costs. It was to cost around £30,000.
By 1897 about 90m had been driven. It included a single tramway with a rimu box drain underneath the track. Initially the 3.4m x 2.4m drive was designed to take a locomotive and trucks, but the size was reduced so the gold-bearing areas could be reached quickly.
To speed up construction, a compressed air rock drill was planned. Power was to be generated by water pressure onto a pelton wheel. A high level water race fed into 400m of steel piping producing a fall of just over 190m. By 1898, the compressor was complete with air pipes laid the length of the drive. It was waiting on water power when the ambitious Low Level Drive was abandoned.
A failure to find gold in payable amounts as construction was being undertaken meant the company ran out of investment and stopped construction. It had spent £15,000 on 0.5km of the planned 4km tunnel. Combined with poor performing investments in the Waiorongomai field, NZ Exploration went bankrupt and was brought out by Mr E H Hardy. The completed compressor was dismantled and used elsewhere and the Low Level Drive was abandoned.
The concrete slab beside the portal is all that is left of the compressor site.”
More information about the Waiorongomai Valley is available on the DoC web site.
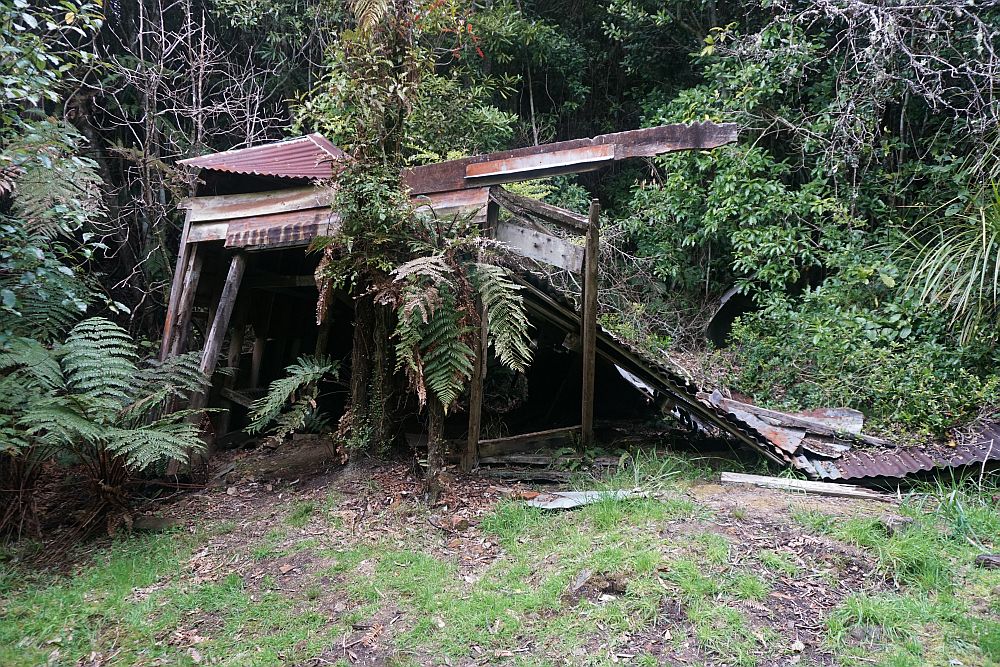
These are the remains of Hardy’s Hut, near the top end of the Piako County Tramway and the High Level Pack Track.
Although it is not marked, this is presumably the location of Quartzville, a miners camp, by the High Level Pack Track. There are a few remains of building materials.

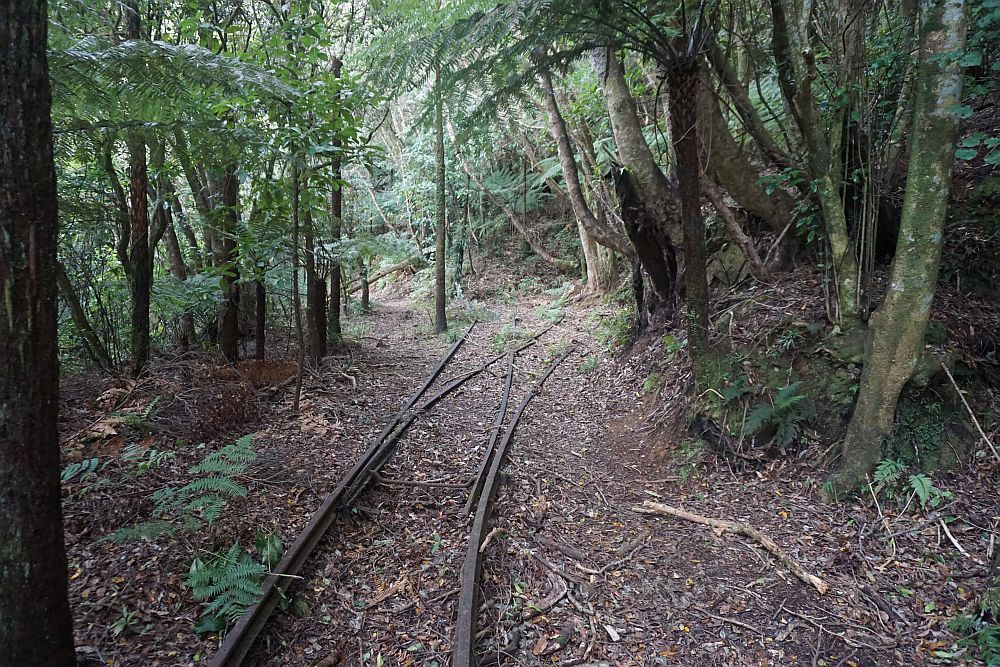
Some of the remaining tram rails on Cadman Track, leading to some adits or mine entrances.
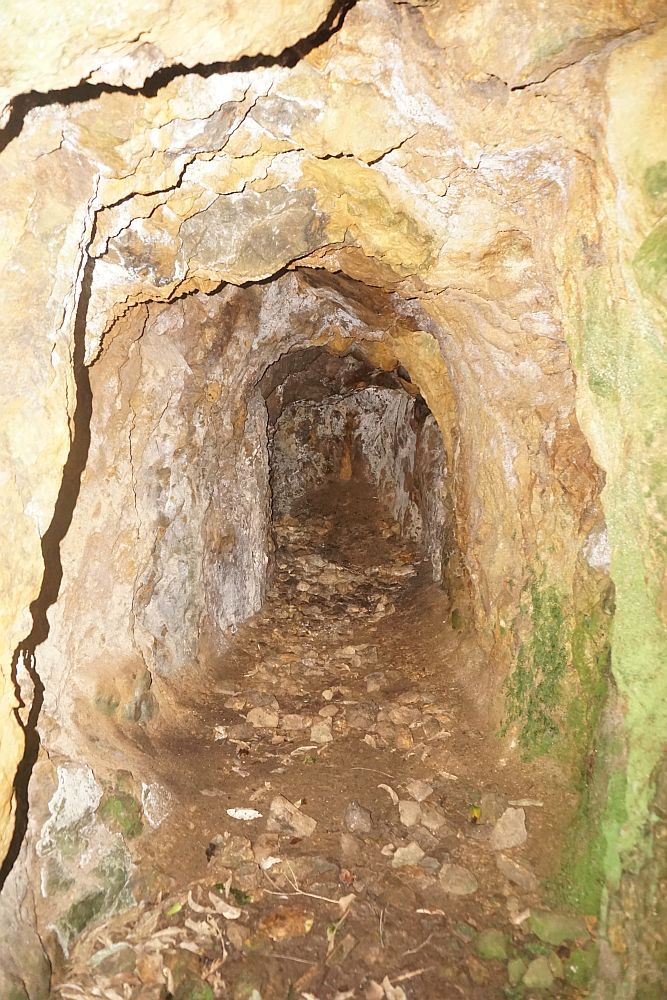
One of the adits on Cadman Track. This one enters directly into what was presumably gold-bearing quartz rock.

Looking inside the mine entrance. Entering the mine tunnels and shafts can be dangerous and is not recommended.
Another adit on Cadman Track. There wasn’t too much room for working inside these tunnels.
A small waterfall on Cadman Track.

The start of the short side track leading to Buck Rock. Yes, it does climb directly up the bank to the right behind the sign on Cadman Track. The tree roots are used both as steps and as handholds for a large part of the track.

An old, dead tree trunk has recently fallen along the track, adding to the obstacles encountered on the track.

One of the few large trees in the area, a rimu tree near Buck Rock. All the usable trees would have been felled and used for timber, and the remainder burnt, providing easier access to the mining areas.

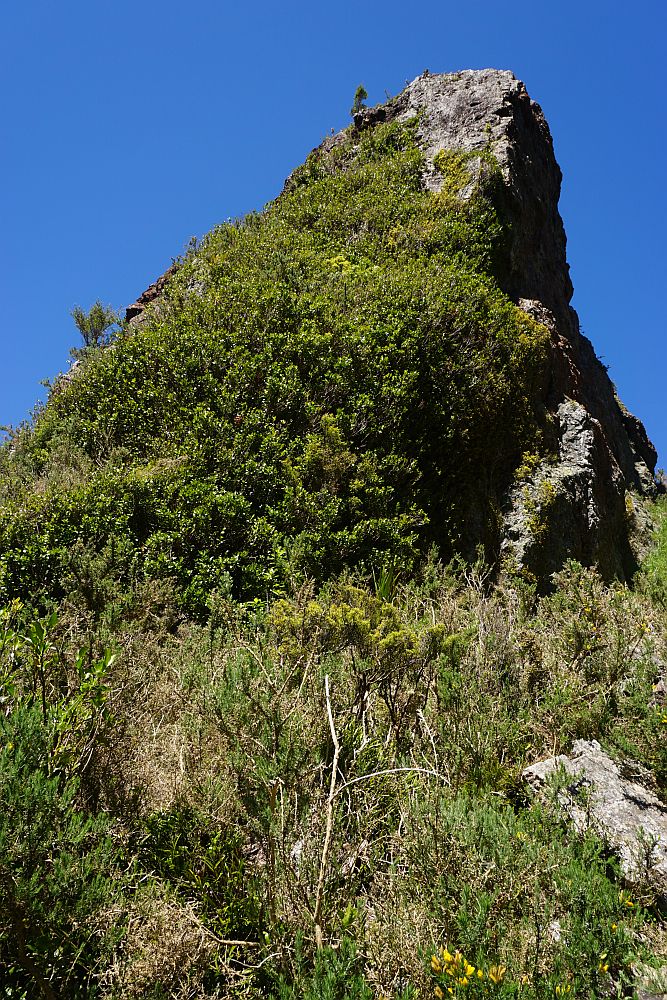
The northern end of Buck Rock, seen from below.
The top of Buck Rock provides a great place to stop for a lunch break.

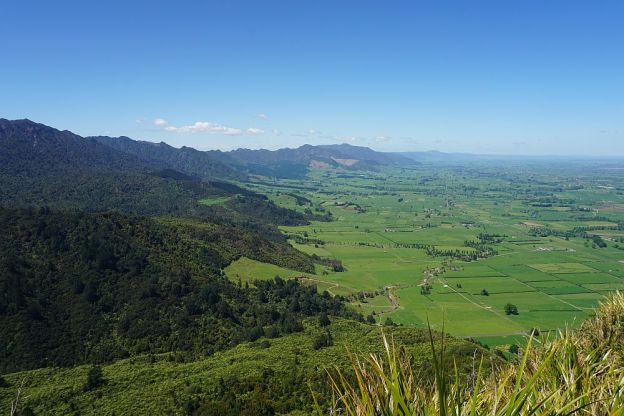
Views from the top of Buck Rock, starting with a view to the south-west, past the flank of Mt Te Aroha, then towards the south and the east. The top of the rock is covered in small gorse bushes.


Looking down to the location of Waiorongomai Village. A couple of vehicles are just visible in the carpark.

A large nikau palm in the middle of Cadman Track, heading down from Buck Rock.

The concrete block used for the compressor at the Low Level Drive, with a few steel bolts still embedded in the concrete.

The information panel and the overgrown entrance to the Low Level Drive.

Looking into the tunnel. They didn’t get very far before it was decided to make a narrower tunnel for quicker access to the gold-bearing ore.

The spread of Kauri dieback disease is having an effect on the areas where the disease has not yet been observed. A newly installed stand at the lower and of the High Level Pack Track, with brushes for cleaning the soles of boots and shoes, and a spray gun with disinfectant to spray on to kill any fungus carried on footwear.

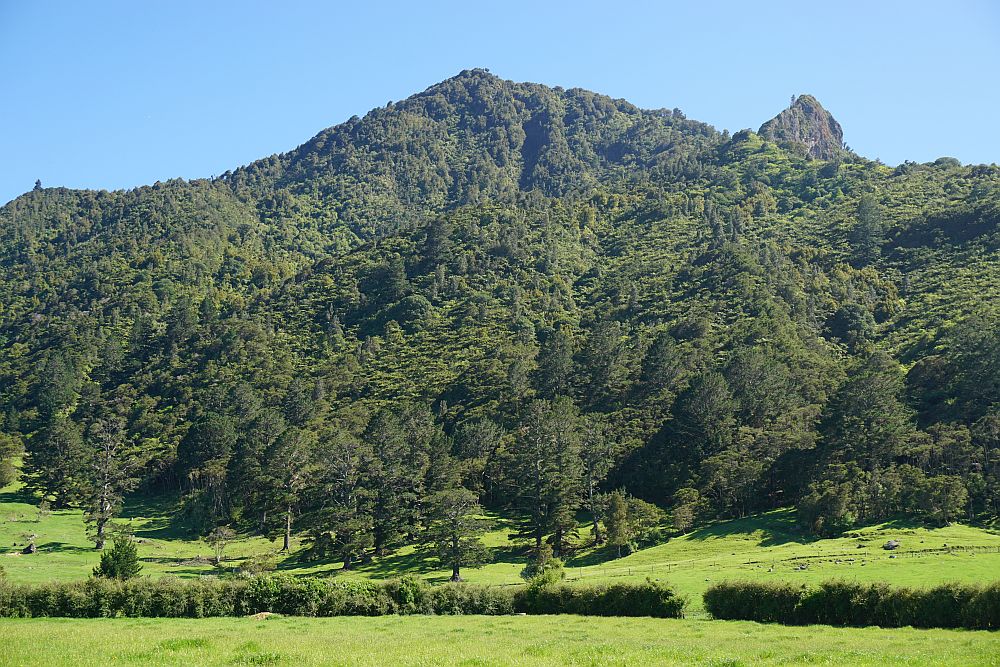
Buck Rock as seen from Waiorongomai Rd, and from near the carpark at the end of Waiorongomai Rd.

The GPS track log is a combination of two logs. One from October 16, 2014 with the northern end of the High Level Pack Track from the end of the tramway to the top of Butlers Incline, and the other from October 25, 2014 from The top of Butlers Incline to Buck Rock and down to the Low Level Drive and on to the carpark.


Fantastic, many of my ancestors were residents of the Waiorongomai village, my uncle Frank Stewart was the last one to live within what was the old village, I visited and stayed with him often in the 60’s, we tramped all over and sat on top of our beloved Buck Rock for hours, many times. We fished and hunted rabbits and Possum, the best times of my childhood.
LikeLike
Many thanks for those reminiscences. The valley is one of my favourite places to go for walks. I’m not sure I can still climb Buck Rock, but I did enjoy the times I’ve done it in the past.
LikeLike