The Piako County Tramway in the Waiorongomai Valley was built and financed by Piako County Council in 1882-1883 to transport ore from the gold mines in the valley to the Firth and Clark Battery at the base of the valley near Waiorongomai Village. The tramway was about 5km long, and consisted of 3 level sections, joined by 3 self-acting inclines. The longest and best preserved of these is Butlers Incline, at 400m long and 25 degree slope.
The rails on the lowest incline, Fern Spur Incline, have almost all been removed or stolen. Only two very short sections at the bottom end and at the top end have been reconstruction. There is no track following the exact route of the incline, but the High Level Pack Track does give access to both ends of the incline, and goes through a cutting where the incline passed over the track.
The second incline, Butlers Incline, is fairly well preserved, and it is possible to walk up the incline. Walking down the incline is discouraged in order to reduce erosion. There is only a short section about midway where the rails are hanging in mid-air, and the track takes a short detour alongside the incline. It is said that walking up the incline can be compared to climbing 845 stairs, and it is definitely harder than expected from the length and steepness and when viewed from the bottom. Some of the winding gear and cables are still installed at the top of the incline.
The third and highest incline, May Queen Incline, is shorter than Butlers and not as steep. The walking track follows the rails for part of the way at the lower end, before veering off to one side about halfway up. Very little of the winding gear remains.
From the top of the May Queen Incline the tramway continued on to the head of the valley where the mining camp of Quartzville was located, passing over a viaduct and through a short tunnel on the way. There is now a swingbridge for the walking track instead of a viaduct.
Horses were used to pull the ore carts on the level sections between the inclines. The Council did commission a locomotive to haul the ore carts on the section between Fern Spur and Butlers Inclines, but unfortunately some corners were too sharp for the locomotive, so it was sold and horses used instead.
Maintenance of the tramway was costly, and the ore from the mines in the valley was not as rich in gold as expected, and more difficult to extract, so the tramway and the mines were used only for a few years. Already in 1885 it was operating only two days a week, only sporadically used after 1912, and fell into disuse after World War One.
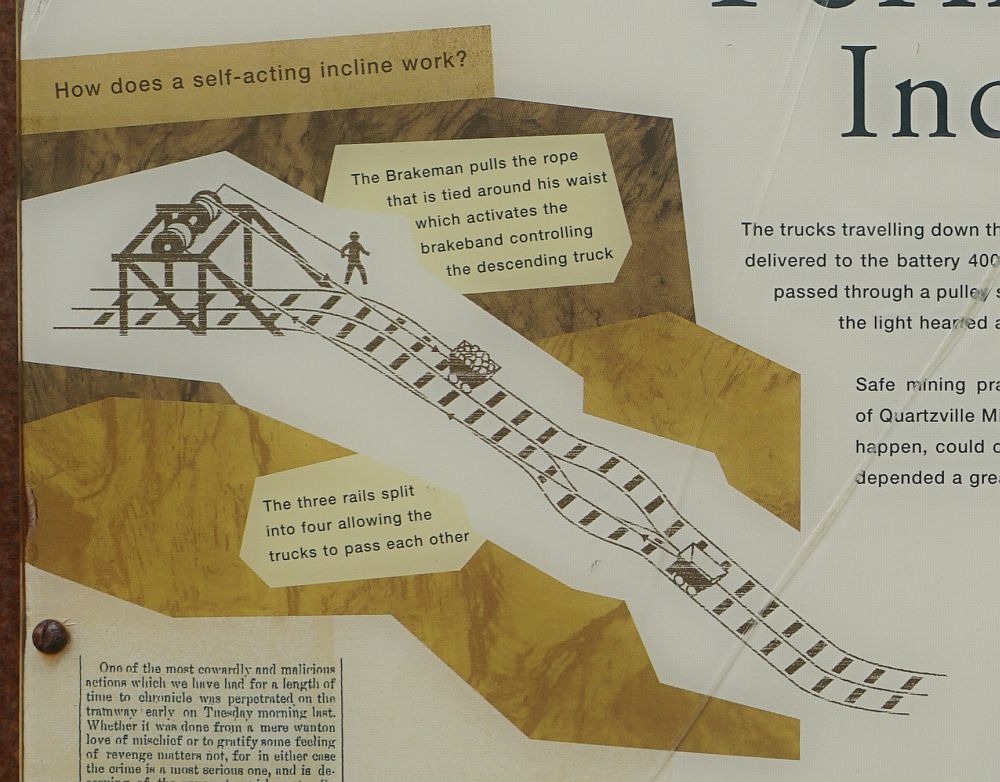
The inclines were self-operating, with heavy full carts on the way down pulling the lighter empty carts on the way up. There were 3 rails, dividing into 4 at the halfway point, so the upward and downward carts could pass each other. The winch headframe had two wire rope reels on a common axle, wound in opposite directions so that turning the axle would unwind one reel and wind up the other one. There was an operator, a brake man, operating the winch brakes to avoid the runaway carts causing damage at the bottom of the incline. Butlers Incline operated with a total of 2.5 tonnes of wire rope.
Many of the rails are original, and over 130 years old. Some were removed, had the rust removed, and then treated to minimize corrosion, but in several places the original untreated rails are still in reasonably good condition. Many of the original sleepers have been left in place, with new sleepers inserted to support the rails.
The tramway is easily accessible from the end of Waiorongomai Rd, where there is a carpark and basic toilet facilities. Walking the tramway in one direction will be about 5.5km. Since walking down the Butlers Incline is strongly discouraged it is not possible to walk the same track in the opposite direction. However there are several alternatives. From the swingbridge at the top end of the tramway the High Level Pack Track runs parallel to the tramway, and joins up with it again at the head of Butlers Incline. From here it continues down, crossing over Butlers Incline, and joining the tramway again near the head of the Fern Spur Incline. Alternatively Cadmans Track, also known as the Buck Rock Track or Ruby’s Track, again runs more or less parallel with the tramway, joining up with the High Level Pack Track near the head of the Fern Spur Incline. It is also possible to use the New Era Branch Track from near the base of May Queen Incline to the base of Butlers Incline. But it is a steep and rough track with two stream crossings.
Some of these tracks were described in the first entry from Waiorongomai Valley. The other alternative tracks will be the subject of a future post. On this walk the High Level Pack Track and Cadman Tracks were used to return to the carpark, making a total distance of about 11km.
More information about the tramway is available on the DoC web site.
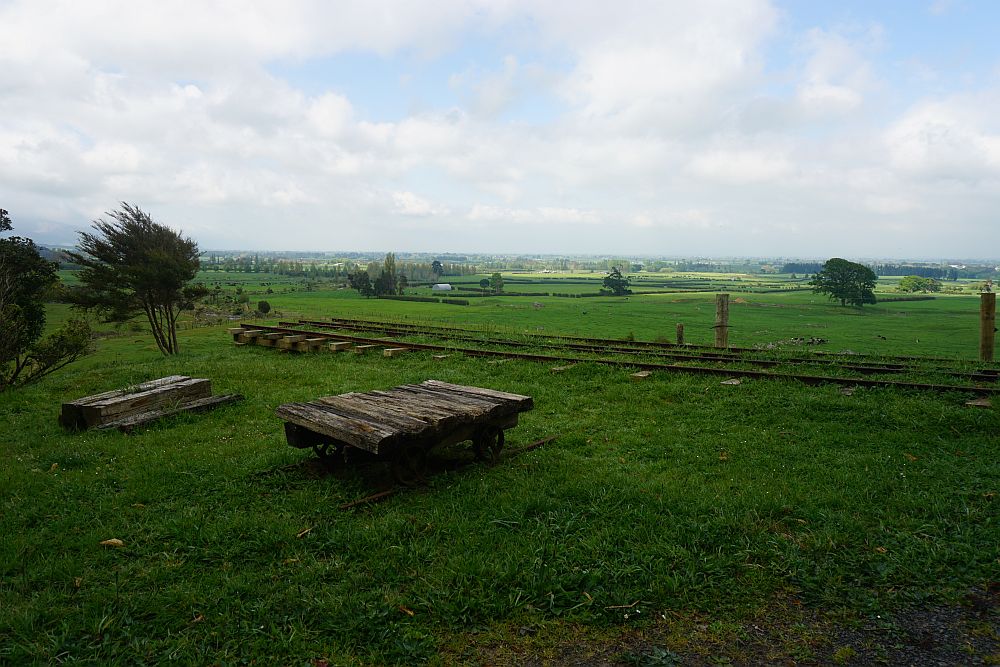
The remains of the lowest end of the Piako County Tramway, near the base of the Fern Spur Incline, and near the carpark at the end of Waiorongomai Rd.
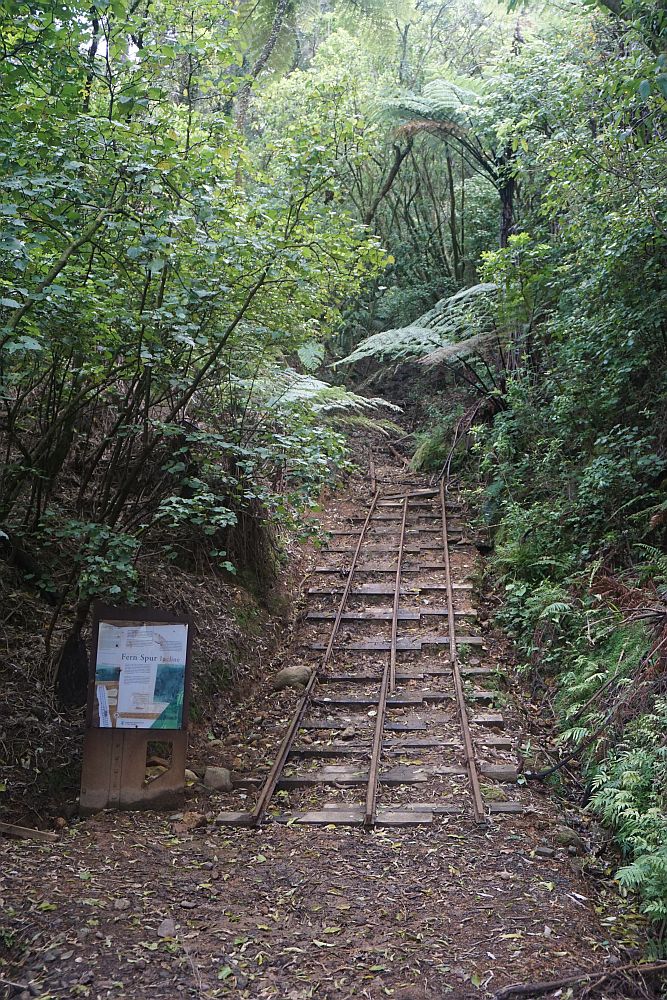
The base of the Fern Spur Incline, with a short piece of the incline reconstructed.
Looking from the cutting where the Fern Spur Incline crossed over the High Level Pack Track to the head of the incline.

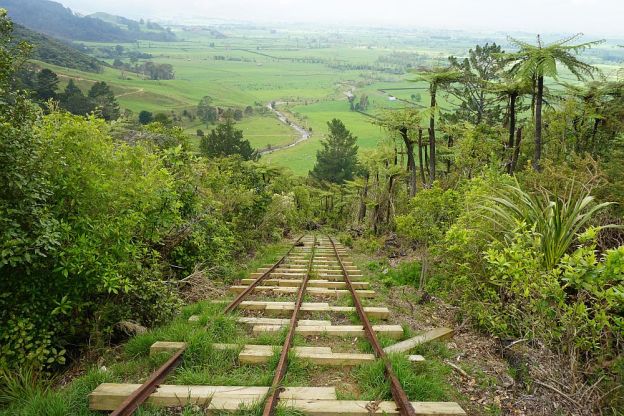
Looking down the newly reconstructed rail at the upper end of the Fern Spur Incline. The Waiorongomai Village was situated next to the stream visible in the centre of the photo.

The reconstructed winch frame at the head of the Fern Spur Incline.

A pictorial explanation of the workings of an incline.
A few relics of the gold mining past are visible along the tramway. Here an ore cart with a top-hinged door at the near end and a simple pivot in the middle for emptying.

The tramway passed through a short tunnel on the section between Fern Spur and Butlers Inclines, This is now collapsed and filled after several slips.

Ore for the Bendigo Battery, mentioned in the previous post, was supplied from the tramway dumping the ore onto buckets on an aerial ropeway leading down to the battery.

The branch on the left was used for the ore carts supplying ore to the ropeway and Bendigo Battery.

Another relic, a berdan, near the base of Butlers Incline. This was used to finely grind the ore for gold extraction. The basin or berdan was turned, and heavy stones or steel balls in it would finely grind the crushed ore.

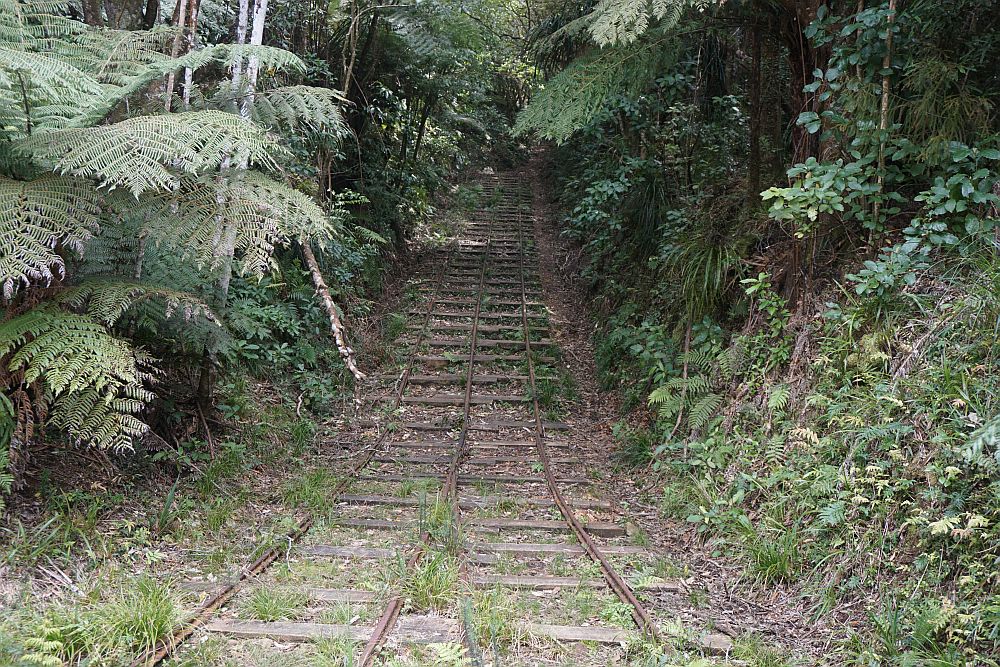
The bottom end of Butlers Incline. Due to overgrowing vegetation the whole incline is not visible at any one point.
Approaching the top end of Butlers Incline, with the bridge on the High Level Pack Track crossing over it.

The reconstructed winch frame, with the two winch drums and some wire rope, at the top of Butlers Incline. The winch frame was set back so far the winch operator could not see the incline while the winch was being operated.

A compressor rescued from a nearby mine, and placed alongside the tramway between Butlers and May Queen Inclines. The compressor provided compressed air to drive the hammer drills used in mining the hard gold-bearing quartz and rock.
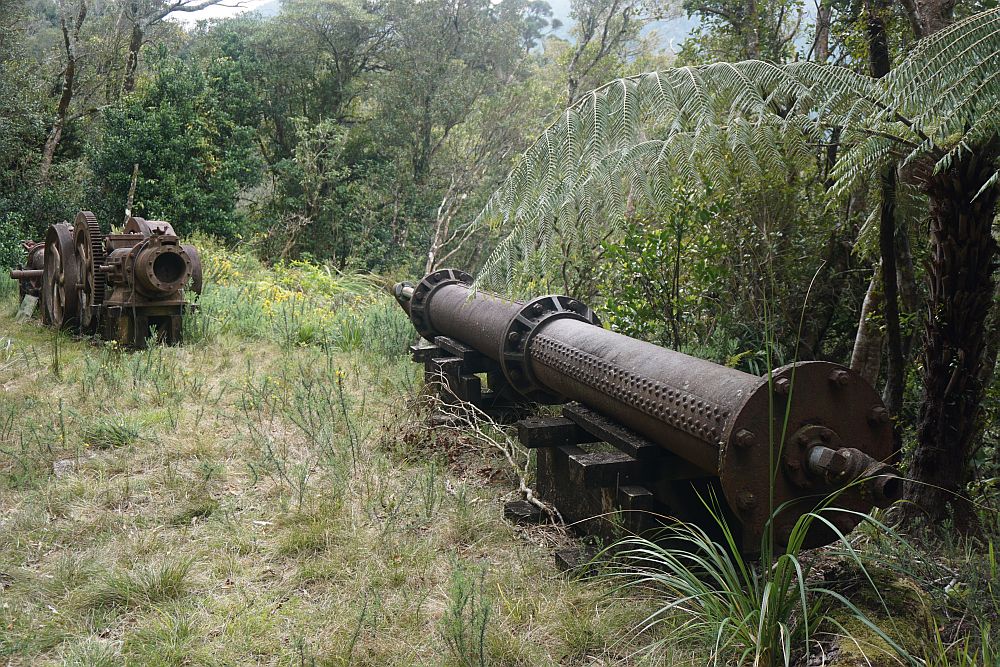
The compressor was driven by a pelton wheel, geared down using belts and cogs. A jet of water under pressure is squirted through the nozzle on the right into the twin buckets on the circumference of the pelton wheel.

The spare railway sleepers provided a suitable seat for a short lunch break after the Butlers Incline climb, before tackling the May Queen Incline.

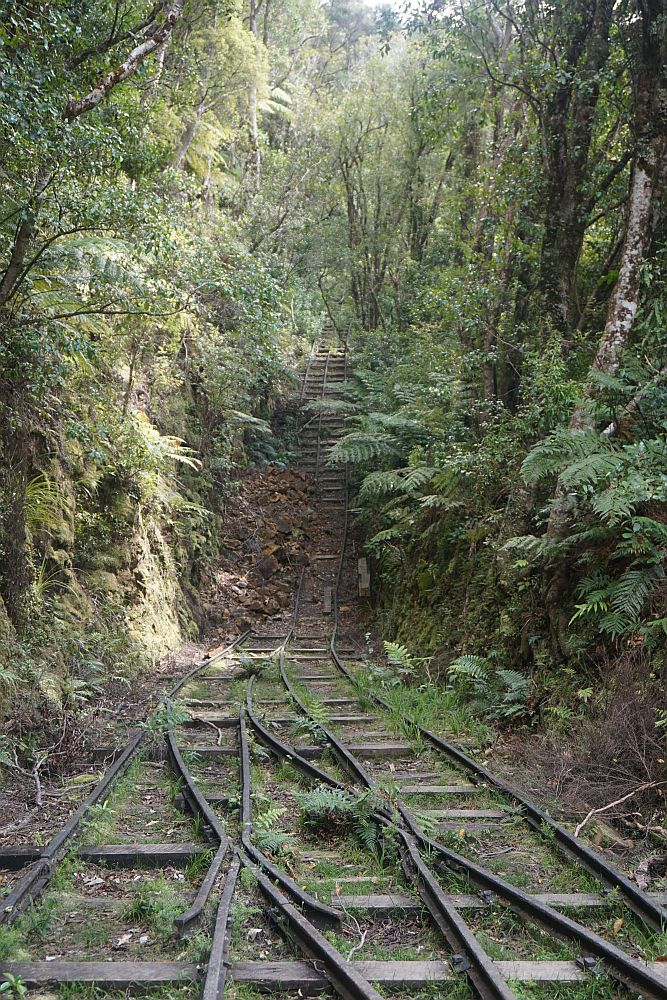
The bottom end of the May Queen Incline. For some reason the 4-track passing area for the ore carts is not at the halfway point of the incline, but closer to the lower end. Also the gradient varies, with an easier gradient at the lower end.
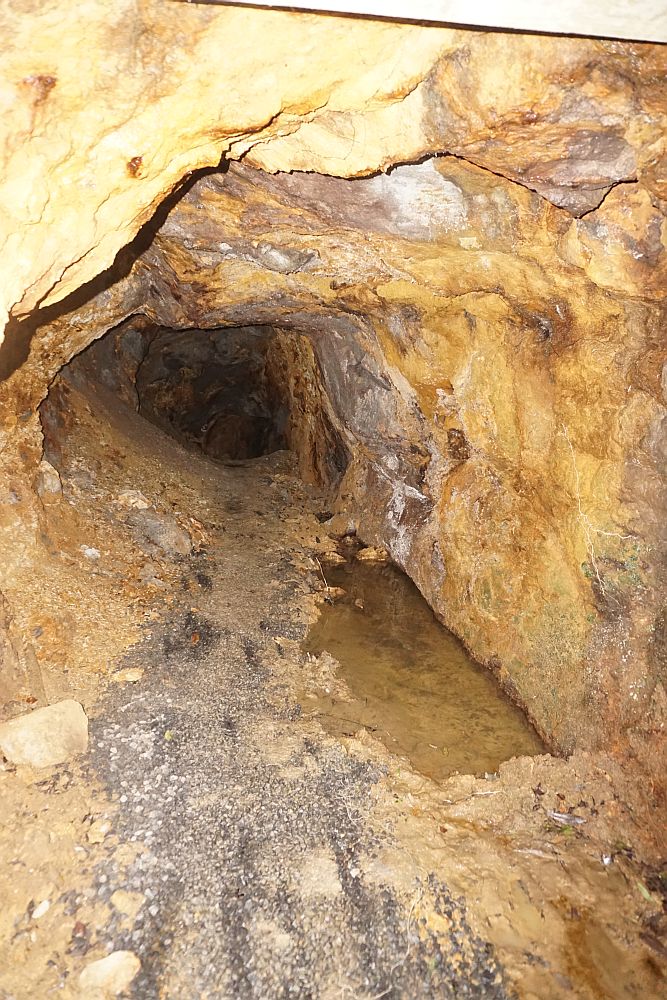
The remains of the winch at the top of the May Queen Incline. There is an adit (horizontal mine entrance) and a stope (hole where ore was removed) nearby.

The new swingbridge replacing the viaduct near the top end of the tramway. There is a tunnel entrance at the far end of the bridge.

Inside the rail tunnel. Some of the wall has collapsed, the floor is uneven, and the roof is low, so a torch (flashlight) is recommended when walking through the tunnel. It is only about 25m long, but has a bend which prevents visibility straight through the tunnel.
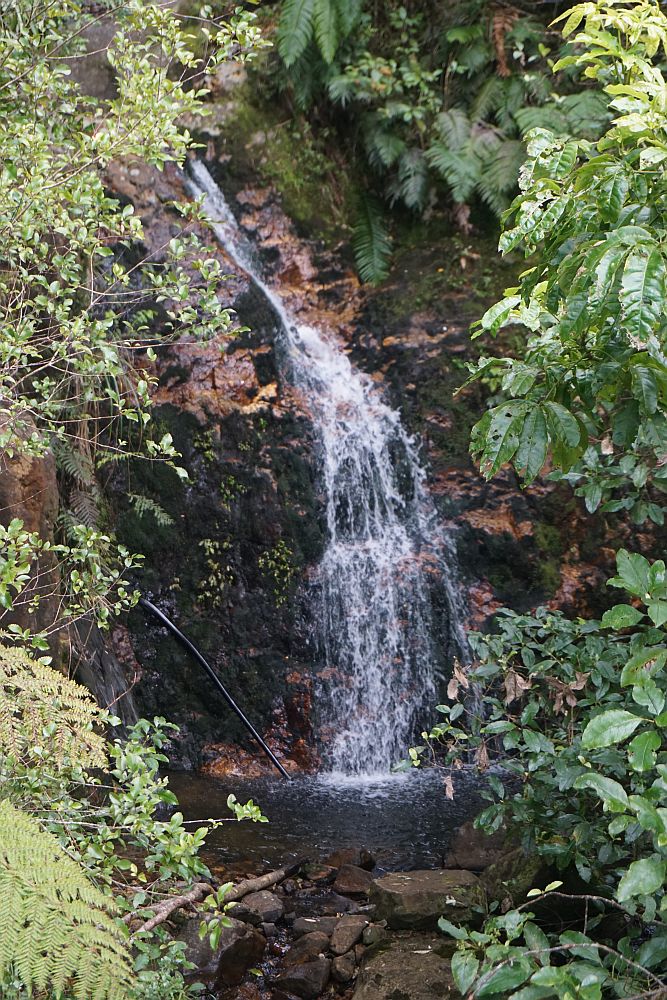
A small waterfall marking the end of the tramway. The track continues on from here, with access to the summit of Mt Te Aroha, the North/South track along the Kaimai Range, and a track to the mining areas of Karangahake Gorge.
The tramway was walked on October 16, 2014, as well as on several previous occasions during the last year or so. The GPS log shows the one-way walk of the tramway track, but not the return walk to the carpark. Walking time was about 2.5 hours for the one-way walk, including a short break for lunch. The climb of Butlers Incline alone took almost 25 minutes.


Pingback: Waiorongomai Valley – High Level Pack and Cadman Tracks, Buck Rock, Low Level Drive | motowalknz